![]()
|
9th November 2008... I left the eyeball to dry over night and then started to put it onto the eye stalk - problem was I didn't have anything to use for the lens... Whilst looking around SuperDrug, I came across some Nivea deodorants with clear blue tops that fit perfectly in the front section. So with this glued in, and the LEDs from the original eyeball hot glued, I bolted in on and screwed the sections together...
|
|
|
|
8th November 2008... An aim for Dalek is to make some functions radio control, included in this is the eye stalk. Problem is the eyeball is made of MDF and is quite heavy so... I now have a resin and fibreglass eyeball, completely hollow and very light. Just like the BBC Daleks, the front section is recessed into the rear casing with some allen headed bolts to hold it in place. I've used some P38 car filler to fix some bolts inside the eyeball, and the bolts pass through the outer shell, through holes into the captive bolts. There is a hole through the centre of the rear section with some narrow plastic tubing for the threaded rod to pass through, and I've cut up a 28mm-22mm plumbing reducer and slid this over the narrow tube to make it to the required 25mm. It's now drying in the garage after a quick fill and sand - I've used a satin finish black rather than gloss this time - the shiny finish seemed to contradict the 'dirty' finish that Dalek now has. Once its dry, another sand and the final coat will be applied to the exterior and a rough coat of white to the inside. I've wired up some blue 'flood light' LEDs from Maplins and will glue these inside leaving me to find a suitable lens for the front.
|
|
|
|
19th August 2008... After watching the latest Dalek episodes of Doctor Who, I updated the ident with a new white one similar to the screen props. It proved tricky to get a white indent on transparent labels so I ended up drawing it with an oil based pencil which turned out OK...
|
|
|
|
11th May 2008... I've finally got round to adding some wire mesh and black membrane behind the Heronair, apart from cutting my hands to shreds with the wire mesh, which I got from some very cheap disposable BBQs, looks fab... I've also done Dalek's ident, the identity tag under his eye stalk... it spells out DALEK using a font I found at Project Dalek... Click here to see what else I did today...
|
|
|
|
27th April 2008... Just a minor change to the head and neck - the neck blocks are now glued in place and the inside of the neck & cowl is painted matt black - even though the picture of the cowl below is unpainted...!
|
|
|
|
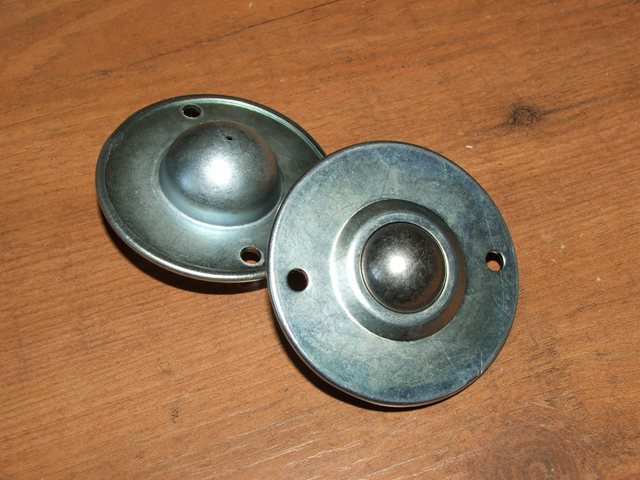
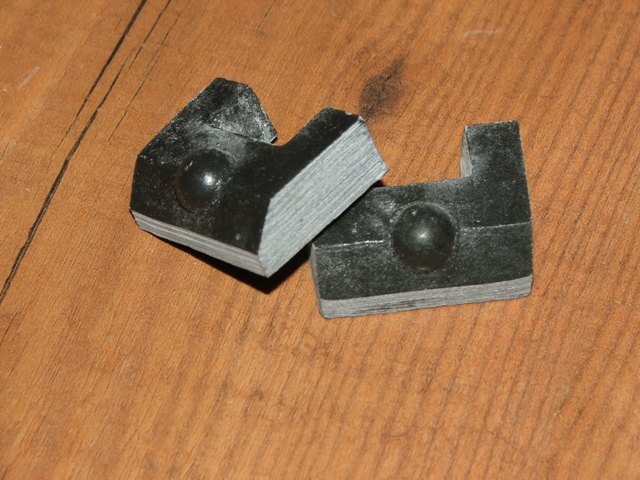
16th February 2008... One year later... During the week a couple of packages arrived, some captive ball bearings to help the dome rotate and a 100cmx100cm square of Heronair swimming pool matting... The dome was uneven due to the weight of the eye stalk, so adding two 'wheels' under the eye brackets, and two more at the sides it now sits even and spins round nice and smooth. Cutting the Heronair was a bit dull but with eight sections cut to shape and wedged in place the whole neck section looks ten times better... Finally I sanded each of the neck blocks, got these from a fellow Dalek builder early last year - made of cast resin. Makes it look a bit more chunky & tough...! |
|
|
|
27th January 2008... One year later... I was always happy with the neck, but the dome fouled on the struts which meant that the remote control mechanism couldn't work... I got in touch with a fellow Dalek builder for some help and he cut me three new neck rings to NSD specifications. Today I put it all together and now the dome clears the struts and it can turn using RC without fouling... Great...! |
|
|
| Also re-done the 'eye' mount inside the dome so it doesn't 'droop', but more on that on the appendages page... |
|
Early 2007... The neck rings are MDF, the struts are 1" x 1/2" softwood beading. I haven't made a separate neck bin, instead I have attached strips of wood on the inside of the neck rings, the 'lid' is screwed at the top. Eventually I'll tack the rubber matting into each of the 8 sections, with the edge of each piece hidden just behind each neck strut. |
||
.JPG)
.JPG) |
||
| The dome's sitting a bit high in these pictures; The interior struts have been left long so I can alter the height as required, all I need to do is remove the interior struts from the neck and lower them to bring it down to the 'required' 4.8cm above the top neck ring. | ||
.JPG) |
.JPG) |
.JPG) |
| The eyestalk is currently fitted with 2 metal L brackets, with a cut-out below the pivot to allow it to move up and down without catching on the opening. A high torque servo was purchased to move the eye up and down but due to the counter weighting problem, a car window motor and gearing is to be used instead. This will be attached to the eyestalk which will allow it to move up and down by remote control, but also ensuring that it will sit level when not being operated. Remote control will also power the dome rotation. | ||
.JPG)
.JPG)
.JPG)
.JPG)
.JPG)
.JPG)
.JPG)
.JPG)
.JPG)
.JPG)
.JPG)
.JPG)
.JPG)
.JPG)
.JPG)
.JPG)
.JPG)
.JPG)
.JPG)
.JPG)

.JPG)
.JPG)
.JPG)
.JPG)
.JPG)
.JPG)
.JPG)
.JPG)
.JPG)
.JPG)
.JPG)
.JPG)
.JPG)
.JPG)
.JPG)
.JPG)
.JPG)
.JPG)
.JPG)
.JPG)
.JPG)